The past two weeks have been a bit hectic which is why I wasn't able to post before. However I am finally able to present you with... the neuron shirt!

I've already gotten about 10904890128 requests for copies to be made, and am looking into mass production (possibly Kickstarter... unless anyone can send me recommendations :D). This shirt was made more for aesthetic/fun purposes, although it does still have an educational element. The shirt has a pyramidal neuron silk-screened onto it, with SparkFun electronics sewn on. When a strong light is present the IR detector at the cuff reads the light 'signal' and LEDs light up sequentially on the sleeve until the 'signal' reaches the cell body. This is a pretty example of how signals are transmitted as electrical current through cells, initiated by some outside input (in this case the strong light detected by the IR detector). Once signals reach the cell body, depending on the type of neuron and the type of signal, the cell may send a signal out of the cell as a current through the axon.
Now how to make your very own neuron shirt! (I promise this one could actually be a DIY project, if you were interested).
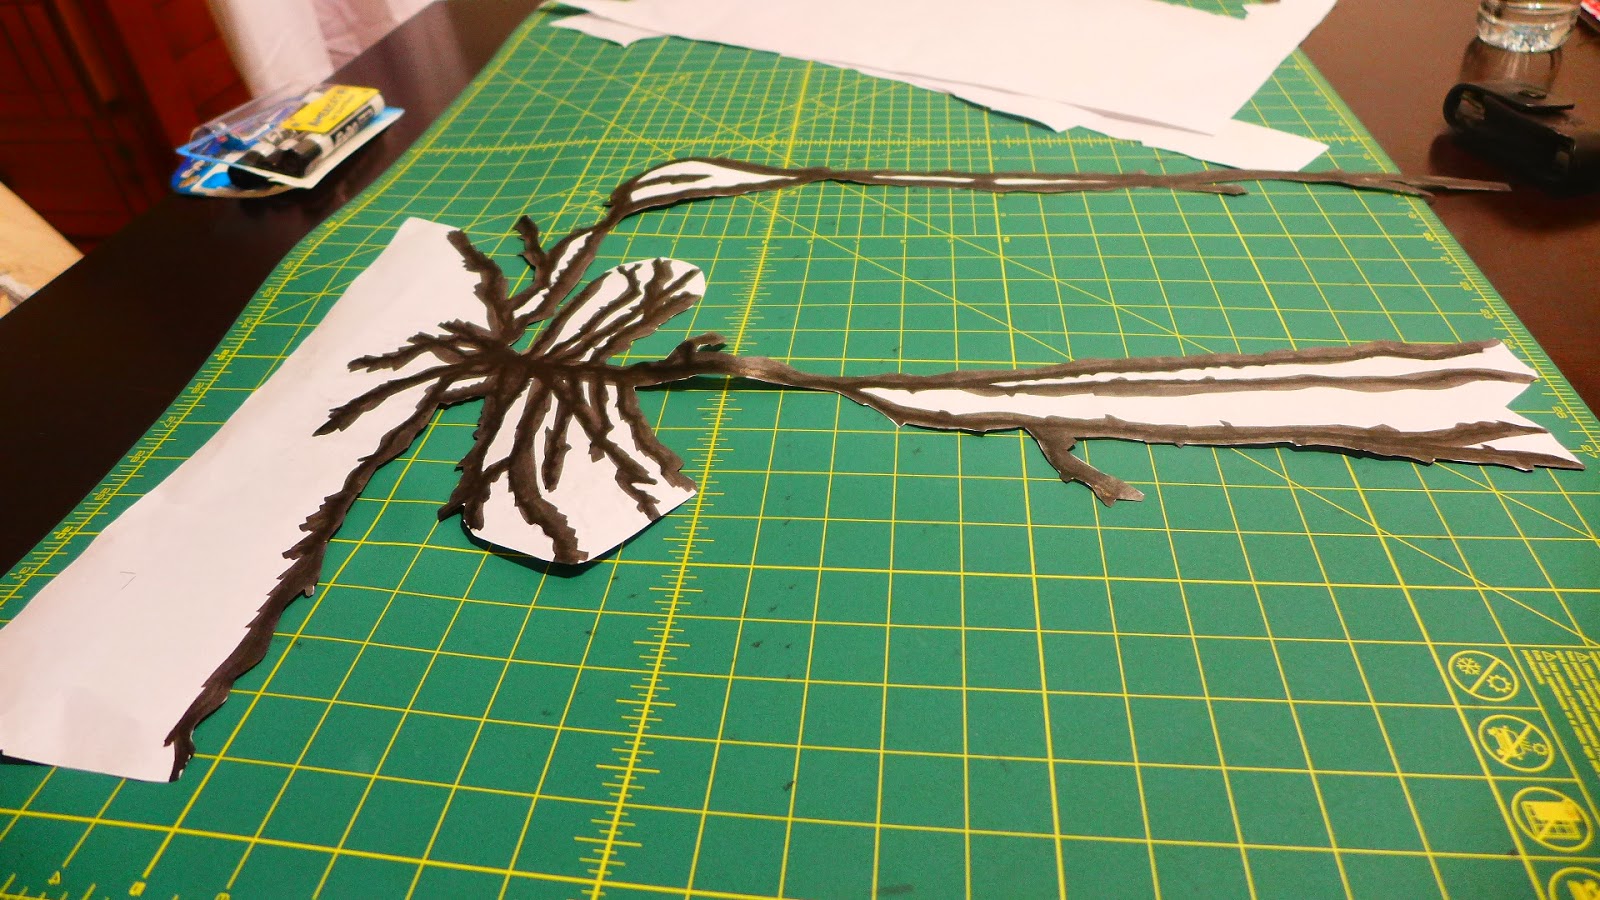
To begin with, I got a lot of silkscreening supplies and went shirt shopping for some nice button-ups to use. To get the print you want to silkscreen, you need to make a positive, or basically a cutout of the image you want to use. I printed a basic pyramidal neuron I edited from an online image at Kinko's, and then spent some time making the lines nice and thick so that I'd have a good positive.
Coloring is fun. Especially when it's the color black.
I then cut out this image and split it into three sections so it would fit on my screen.
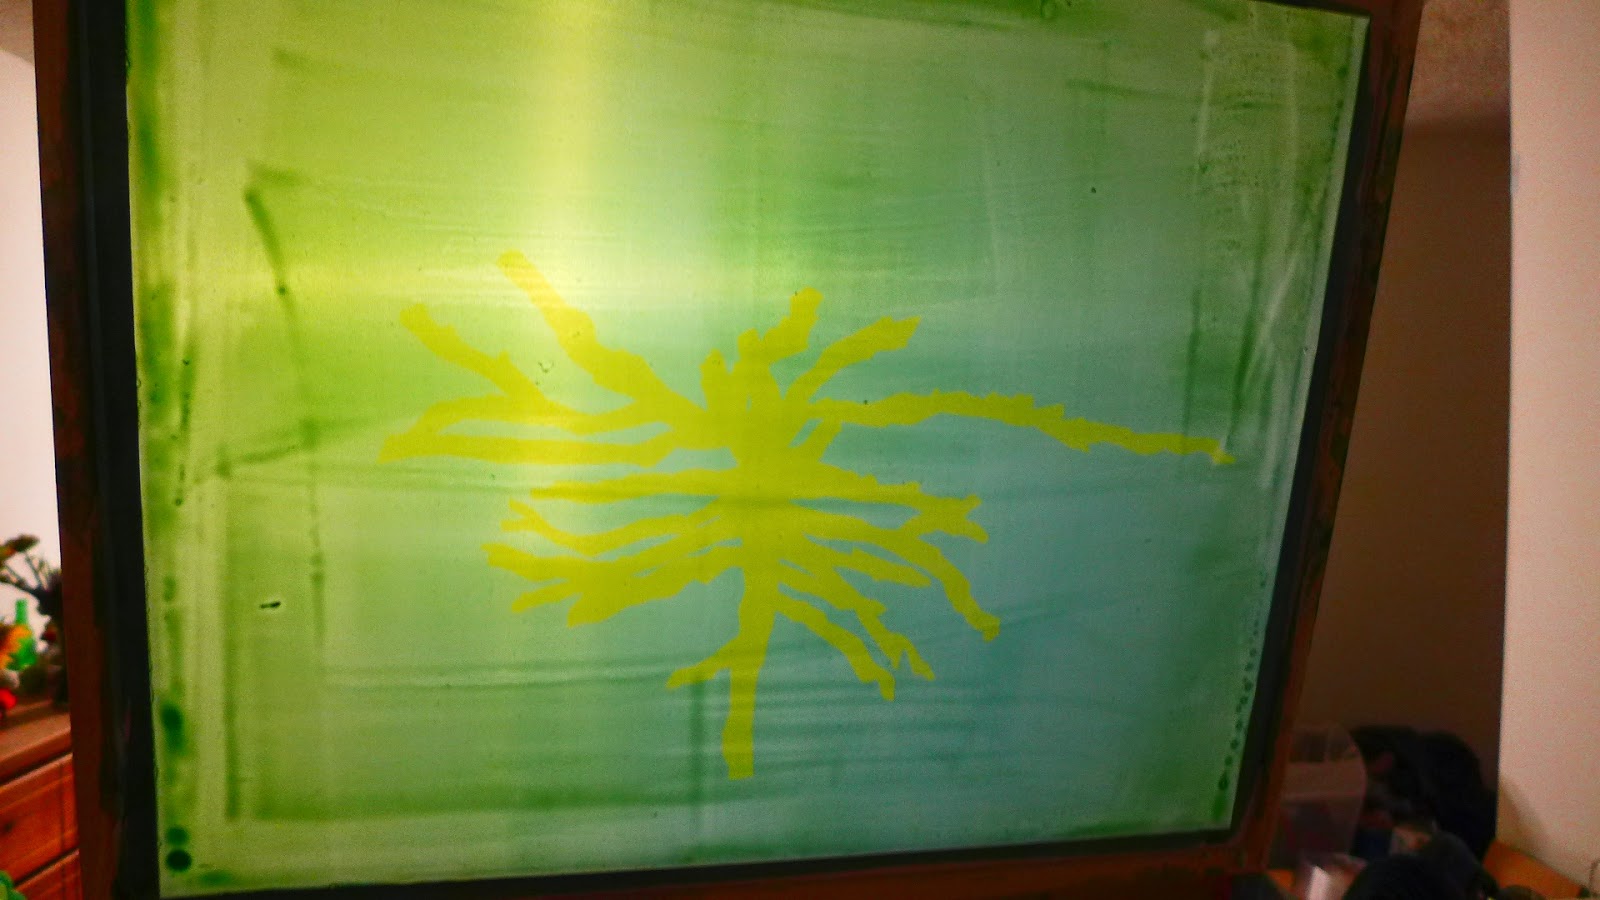
From here I applied the first coat of photo emulsion to the screen with a squeegee. The photo emulsion is a light sensitive chemical, which when exposed to strong light will harden. Therefore I had to let it dry in the dark. When it was done drying, I exposed the screen, which is where the image I want to print is placed on the screen to block light, and I put the screen under a strong light to 'paint' the image on the screen with light.
The result is that when I wash the screen, the parts exposed to the light remain hardened and water tight, while the part covered by my positive washes clean, and is ready to use for screen printing!
Washed.
Ready to print!
After this I was ready to print on my shirts. I ran two test prints and then printed the button-ups.
First one down.
Two for two!
Fitting the cardboard so the paint won't leak through to the other side of the shirt when I print.
Cutting off the buttons on the shirt so the print goes on cleanly.
Printing the button-up!
Pretty goooooood.
The paint needs to be set with ironing for about 5 minutes, and then the shirt is fine to wash. To print the other parts of the shirt, I applied an emulsion remover to the screen, scrubbed off the print, and then repeated the process from the beginning with my other two positives. I ironed the shirts once I was done and they had dried.
Drying the screen before adding the second emulsion.
Drying the screen after washing the positives clear.
Taping the edges to avoid paint getting through cracks.
Taping off the part I don't want to print.
Printing in process.
I had to wash the screen after every print, to avoid the ink staining or clogging the screen.
Ironing the finished prints :).
Once the prints were done, I still needed to sew on the blinky blinky fun bits. This consisted of the Protosnap LilyPad Simple from SparkFun, as well as some white LED's and an IR detector from the site. I used the 30' conductive thread spools they have to sew the circuit of LED's and IR detector such that the IR detector was at the cuff, where it would detect any strong light and cause a 'signal' to be sent through the LED's up the sleeve to the cell body. Sadly, I am still waiting on the USD cable for my Arduino to connect to my computer so I can upload the code. However, the code is fairly simple and can be easily modified once it's uploaded.
Circuits sewn on the shirt.
Details of the cell body/arduino on the shirt.
Details of the IR detector on the cuff, along with a resistor for the detector.
The battery cable for the arduino fits through the closest buttonhole on the front, and the battery has a little pocket I sewed into the button lining, so that it rests right on the chest to power the circuit. The best part of the shirt is that it's washable! The battery just needs to be removed first. Hopefully this prototype will be the model for a much larger amount of shirts if I mass produce them.
For more information about screen printing, here are some websites I used:
http://en.wikibooks.org/wiki/Screen_Printing/Making_the_Stencil/Photo_Emulsion#Applying_the_Emulsion
http://www.dharmatrading.com/home/screen-printing-101-lil-blue-boo-photo-emulsion-tutorial.html
http://www.instructables.com/id/Photo-emulsion-Screen-Printing/?ALLSTEPS
http://www.theartofdoingstuff.com/how-to-screen-printsilkscreening-at-home/
http://www.instructables.com/id/Screen-Printing%3a-Cheap%2c-Dirty%2c-and-At-Home/?ALLSTEPS
http://diysilkscreenprinting.blogspot.com/2011/01/troubleshooting-screen-problems.html
http://www.ulano.com/FAQ/FAQstenremoval.htm