
Finished product!
Roughly, the current scientific theory is that autism is caused by broad-tuning of neurons in the brain. This means that neurons are firing for a wider range of stimuli than normal - one comparison would be someone having a hard time distinguishing between a b and a d on paper.

http://media-cache-ak0.pinimg.com/236x/1e/98/c3/1e98c31553bca0da262e514f89655afe.jpg
To represent the overstimulation in my dress I had a couple different approaches. In the bodice of the dress I chose to use fabrics that look 'dizzying' and a liner that is made of scratchy sequins. I also installed an obnoxiously large and uncomfortable tag in the back, since tags can be particularly annoying to autistic kids.

Pinning the two layers to check for size.

That's me!

Cowbells are attached to the bottom half of the dress to generate an obnoxious amount of noise when the wearer moves.

However, for the rest of the bottom half I tried to convey the understimulation that occurs. Sometimes when sitting on smooth surfaces, or trying to stay still for long amounts of time, kids with ASD will have a hard time focusing due to how little stimulation they are receiving tactilely or otherwise. One trick to help stay focused is to hold a bumpy ball, which provides enough tactile stimulation to avoid feeling restless. Thus the bottom of the dress is smooth, undecorated and loose, to mimic this lack of stimulation.

I have a series of buttons up the back that are shiny, but nonfunctional, as well as a string around the waist that is solely decorative. This is because a volunteer who works at Danny's Farm mentioned to me that excessive attachments that have no function on clothes (pockets that are the wrong size for their function, broken zippers, etc.) are particularly annoying for many of those with ASD.

Useless buttons.
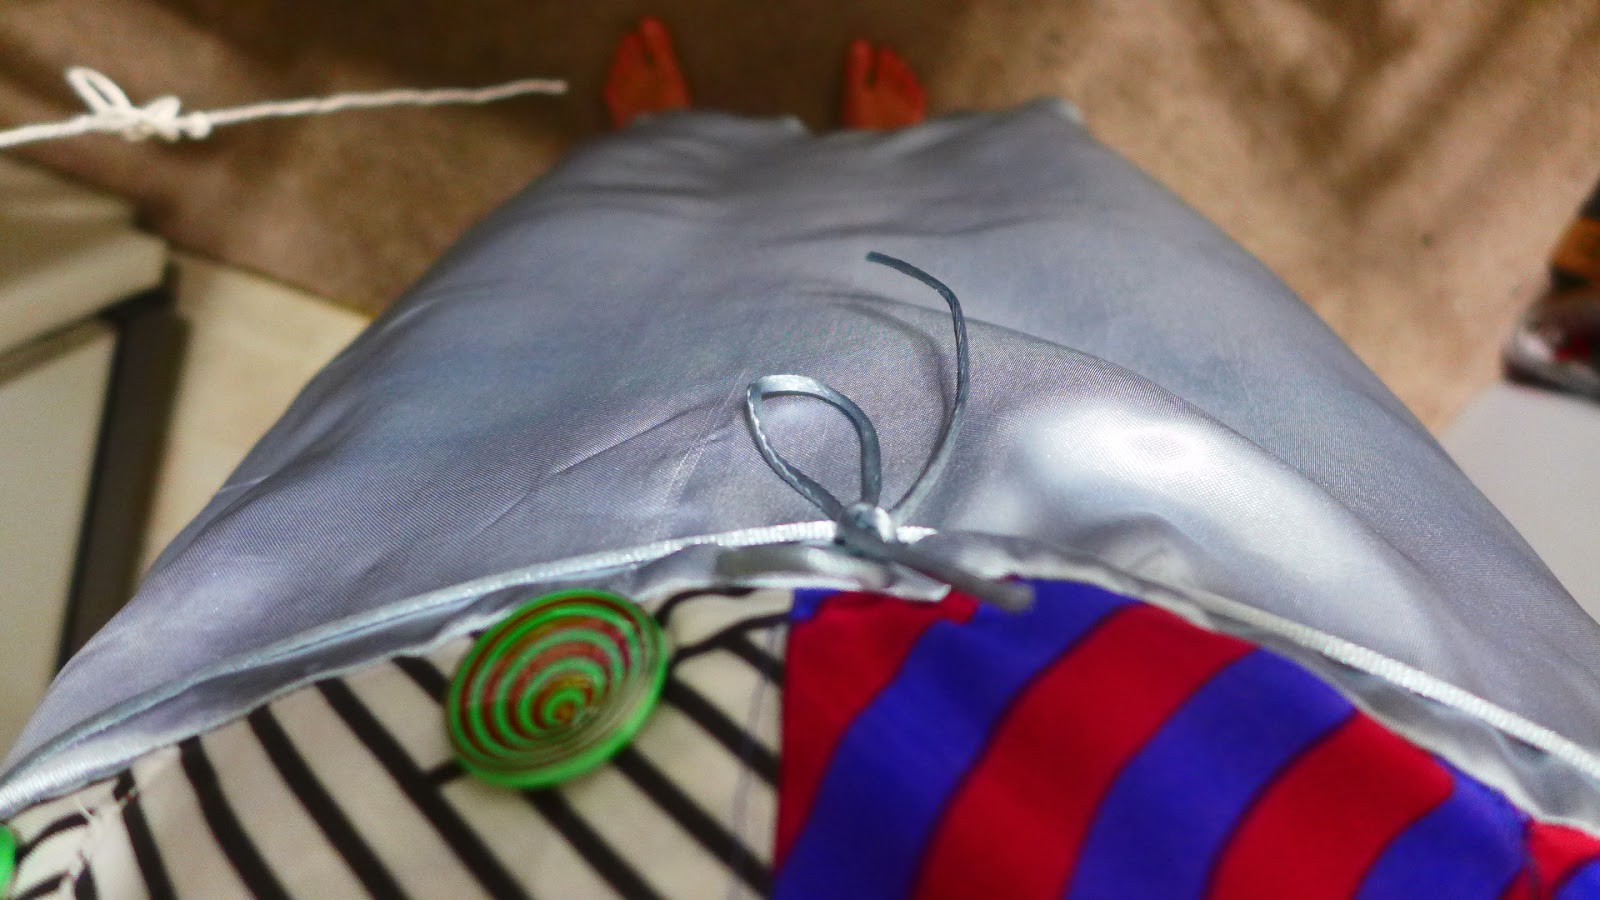
Useless string.
I also added details like optical illusion buttons and a shoulder patch on one side. This is to both add to the overstimulating look of the top, as well as represent how in ASD one side of the body can be dominant (better hearing, stronger, faster, better hand grip, etc). The skirt is asymmetric for this reason as well.

Asymmetric sleeves.

Choosing optical illusion buttons to mess with your eyes.
Sewing this dress required a lot of planning in advance to figure out how I could include all the details I wanted but still have a dress that looked like, well, a dress. Once I finished planning, I started with an old pattern I had for a corset bodice, and cut out the front halves and sewed those together.


The shoulder was made by draping on my body form.


I also cut out the sequins panels and sewed those sequins side in, so that the liner was uncomfortable as could be (I actually had to wear an undershirt when I was testing the dress because taking it on and off was scratching me too much).


I measured, cut, ironed and sewed the bodice, and then got to work on the skirt.


This was pretty simple, I just took measurements for my hip to knee length and my hip to floor length and cut the skirt to fit. I had to shorten it a bit so I wouldn't have to bunch it to fit the circumference of the bodice.

After I sewed the skirt I cut a slit in the back and ran through about 30012938 different tests of zipper location on the back.


From there I just quickly added the string around the waist, the buttons and pins to front left side, and the cowbells to the bottom (with an extra panel of fabric so that the skirt won't rip under all the weight). Wa-la! One autism dress, made to order.

I haven't yet tested the dress on anyone but I plan on doing that sometime next week, if I can find someone my body size. Although it took a long time, I'm glad I went through the trouble of planning this dress, so that putting it together was relatively easy.
Hi, what part of this page did you want to know was correct?
ReplyDelete